
Hey Everyone!
WARNING: this blog is for plant killers- or if you are in denial….. plant lovers. (They are quite easy to grow)
I’m soooo sorry that I haven’t posted anything in SUCH a long time. I’ve been super busy- but more about that later. This DIY is all about being GREEN and growing your own herbs in a city (where space is limited, and decks are tiny). So find your green thumbs and follow me!
You will need:
-Dirt (preferably seed starting dirt)
-Dirt cakes- as I affectionally called them or (Peat pellets)
-Galvanized metal pots
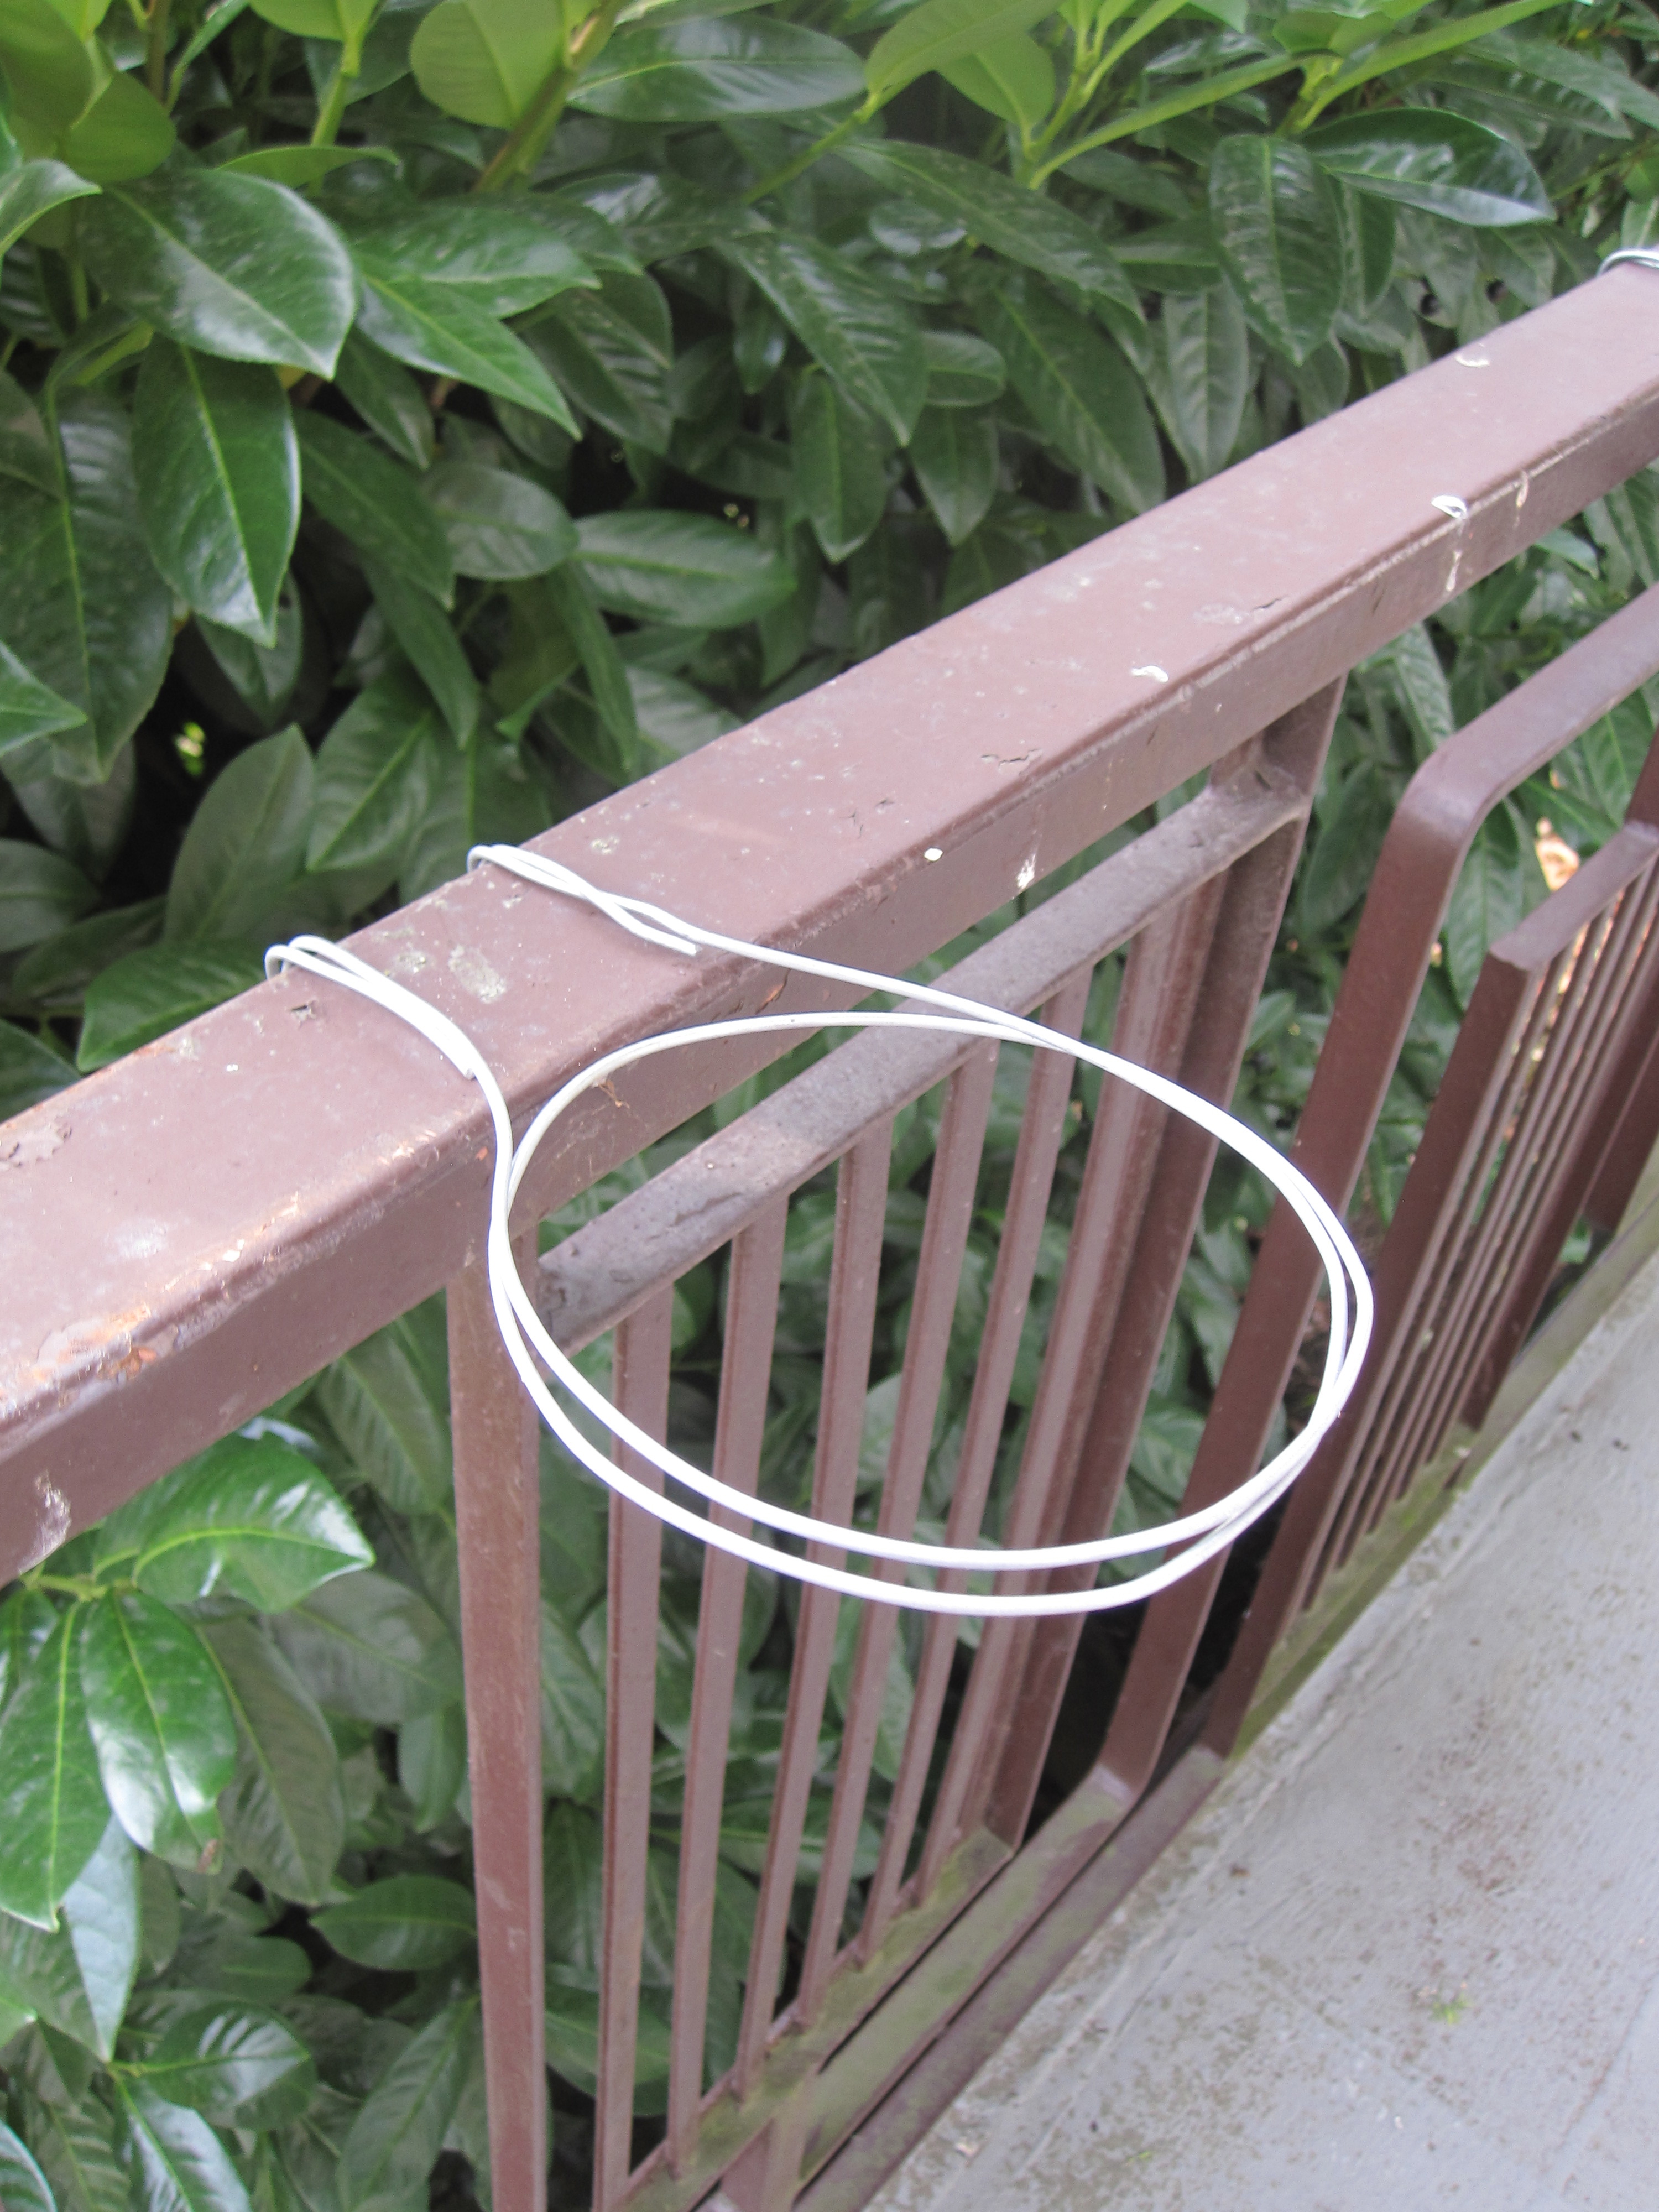
-Wire
-Wire Cutters
-Seeds (I used Basil, cilantro, and spring onions. Also Thyme, and mint are fairly easy to grow)
-A drill OR a nail and a hammmer
-A tray or a glass dish you don’t mind giving up for a couple of weeks
Step one- Place your dirt cakes in water until the fully expand.
Before they expand….

After!!

Step 2- Plant seeds! I just used a chopstick to gently make a dent in the dirt- dropped in a couple of seeds and pushed some dirt back over to cover them.

Step 3- Wait patiently. I am the worst at waiting and even more terrible at trying not to kill plants. But basically all seedlings need is water and sunlight (Duh!). The dirt cakes make it hard to over water them, which was a really good thing in my case. So I just placed them in some sunlight near my patio door. I used a glass dish because the plastic ones at the store were too flimsy and I knew that when I went to go and move the tray around the house I would inevitably end up with dirt in my carpet. :s

Step 4- Prep your containers (for when they are big enough to plant) I bought 5 “Shocker” planter pots at Ikea for about $1 each. Drill 4 holes into the bottom of them or poke 4 holes into the bottom of them using a nail and a hammer for drainage. I put a flyer under my pots to catch the little metal shavings from drilling.


Step 5- Bend a portion of wire all the way around the top of your container to hold it, and then bend the 2 end pieces of wire to make hooks (or something to hang over one side of your railing) it should look something like this. It took a couple of tries for me to get the hang of it. I also doubled up the wire on the hook parts because I didn’t want my pots to sag or fall off the railing.


Step 6- Transplant the seedlings into the bigger pots, and hang on the deck.


Step 7- Don’t forget to water!! Seriously… These things need MEGA water- Which doesn’t mean LOTS of water…. it means water CONSISTENTLY. Skip even 1 day and the basil will start to wilt. I like to water mine at night, and I will occasionally mist them.
Here they are after the summer!


Unfortunately the cilantro didn’t work out too well. As soon as it started to flower, it stopped growing big leaves. I did get some off of it in the beginning… but I think this is as good as it gets for now.

As you can probably tell I have enjoyed all of my herbs by the snip marks. There is honestly nothing better then fresh basil on a veggie burger! MMMMMM!!
Well here’s to being green and healthy!! And hopefully being able to spruce up your deck a little!
Designer tip of the week: Keeping your plants off of the deck will protect them from bugs and slugs, as well as free up some much coveted floor space! 🙂
Please bare with me guys I’ve got a lot of other projects that I’ve completed but just haven’t found the time to post yet (see all that time away from blogging wasn’t spent on nothing!). I’m going to try and get all of my projects up in the next month or so. 🙂
-Pearl

Love the idea! I’m definitely going to do this next year.
Okay, I have been like searching for ages now a DIY railing planter idea. This is good…very, very good. Thanks for putting it out there. And hahaha, yes…living in denial man. Ignorance is indeed bliss when it comes to planting. I think I have a semi green thumb but at times I do take my living in denial to new heights by planting lavender in Mumbai and killing all of them 😛
I’m glad you like it! As a note…. don’t place them directly in the sun if you can help it- because they are made of metal they can heat up very easily and basically cook your plant. If I did it again I would use plastic containers. Also the smaller the pot the more often you have to water them. 😉
Oh, I think I have gone a step further…my containers are plastic 😀
I was wondering what kind of wire you used (material, thickness)?
I used a coil of dollar store wire, nothing fancy. It’s probably….. 16gage? I found this stuff to be the most pliable and would hold the weight of the pot. You could also use copper… but its pricey. I think most hardware places have coils of cheap wire as well. Hope this helps!
What kind of wire did you use… metal type and gauge…thanks.
I used a coil of dollar store wire, nothing fancy. It’s probably….. 16gage? I found this stuff to be the most pliable and would hold the weight of the pot.
Pingback: Patio Planter Inspiration – portlandiapam
The idea is amazing, I am going to use this to tie my pot to rallings.
I was thinking to use a nylon rope, however, this is better , to use a custom made stand of steel /allow wire.
Thank you.